
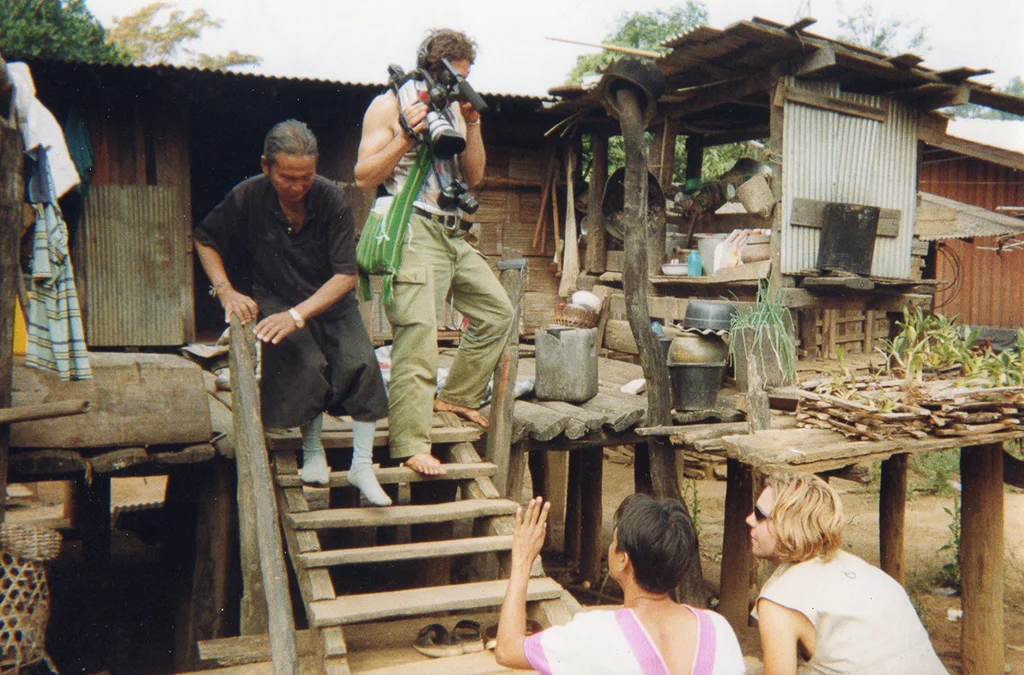
I love getting out of the studio to shoot & it’s how I started in TV as a travel filmmaker, so I’m used to spending long, long days on the road. It’s also a terrific way to teach yourself how to film with limited & lightweight equipment. Here are a few tips & essentials on how to film outside and to make your life on the road a bit cruisier.
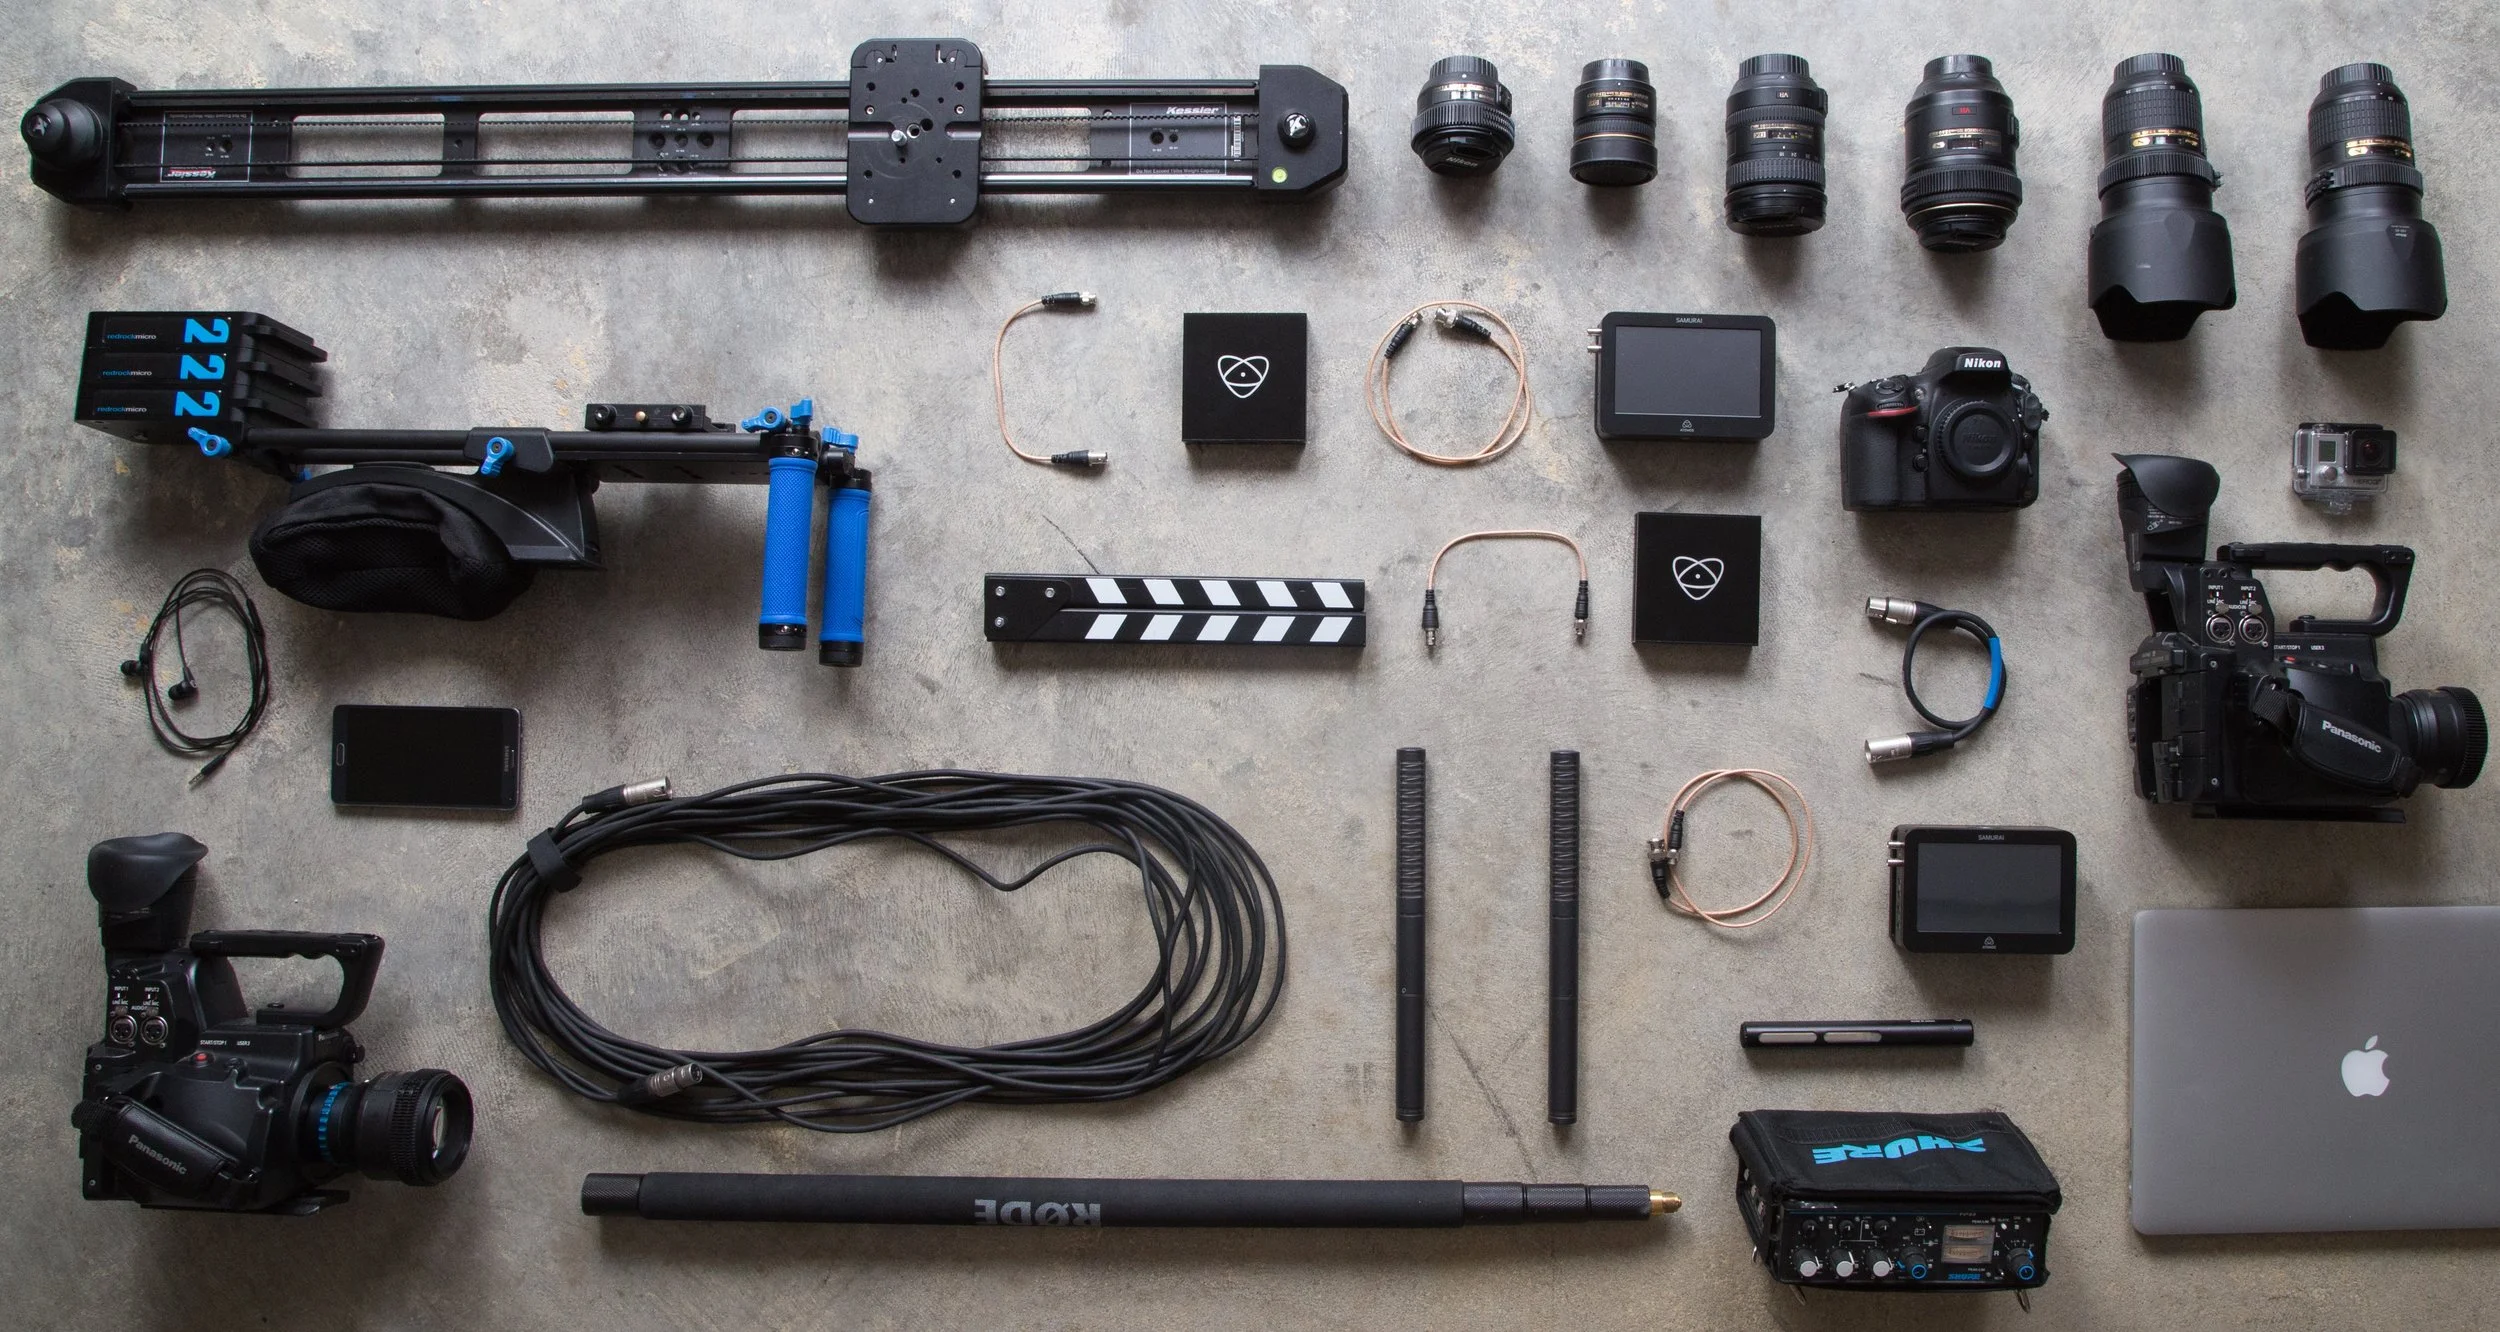
Camera equipment essentials:
If it’s a remote shoot – lightweight everything & cull all non-essentials.
Bandanna (or similar) to cover camera when not shooting from dust (if in the desert) & sea salt/sand (if at the beach) & an Umbrella/Rain jacket to protect from water/rain.
ND filters & Matte box (if not ‘built in’ take a few so you can stack them on top of each other) to be able to reduce the F-stop & shoot in bright conditions.
Polarising filters – to cut down glare - if filming water & sky’s etc – especially if out in boats.
Lens cleaning cloths.
Gaffa tape & Pocketknife & heaps of spare batteries.
Picnic blanket with a weatherproof bottom to layout the equipment in a dry/dust free ‘zone’ & leave a portion of blanket free to act as a ‘lid’ to cover equip quickly in case of dust or rain etc.
Lighting:
What time of the day should you shoot?
When you do your apprenticeship, you’re told to only shoot at Golden hour – dusk & dawn & blue hour (half hour after dusk) & to put your camera away during the day which is spot on …. UNLESS …. you’re on a deadline & the only time you are able to get that shot is NOT during those ‘sweet spot’ hours. A couple of tips – use the sun for some moody backlighting & position the subject so that they are blocking the sun & this will create some beautiful backlighting that you can than blast some fill onto the shadow areas. Also use foliage & structures to filter/hide the sun for some very interesting effects & sun bursts & play around with f22 & see what happens.
Often, due to remote locations & small film crews, lugging heavy lighting kits is just not an option. If that’s the case throw in some 3 in 1 reflector which can either add light beautifully as a key or fill &/or filter/soften ‘harsh’ light as a scrim.
Audio:
VIP: Clean, crisp audio is vital to the success of your video – even more so than the quality of the picture. When you get back to the editing suite you can ‘funk up’ the picture with LUT’s & filters etc to save a shot, but you can’t save ‘clipping’, noisy or ‘red lined’ audio - ensure audio levels do not hit the red zone on the meter whilst recording. If in doubt, keep levels ‘quiter’ as you can always boost gain in post to bring the volume up.

Ideal audio kit:
A combination of lapel radio mic & shotgun mic on a boom. This way you have a failsafe system. If one mic clips or cuts out you have the audio from the other mic as a backup. Having the ‘shotty/boom’ set up is also vital for a 2 x person or group Interview.
Use a ‘fluffy’ or dead cat on the ‘shotty’ to reduce wind noise. If it’s windy it won’t cancel everything so just wait for the wind to die down before you go for a take. If it is windy a lapel mic is best & if possible have the subject twist/adjust their body slightly to shelter the mic from direct wind.
Guarantee audio success?
How do you safely monitor if the audio is correct? Get yourself a good pair of ‘over ear’ headphones & don’t get lazy & not wear them & ‘hope that the audio is ok’. Also, use your eyes & watch the audiometer to ensure either channel doesn’t ‘red line’.
Personal equipment:
Lip balm, sunscreen & ‘Aeroguard’ for mozzies.
H20 bottle & Snacks (I was filming elephants in Tsavo NP, Kenya & stayed in the same spot for over 14 hours & got a tad hungry)
Not quite sure how to hold your own outdoor shoot? Get in touch and we’ll assist you with your outdoor filming and photography in Coffs Harbour.